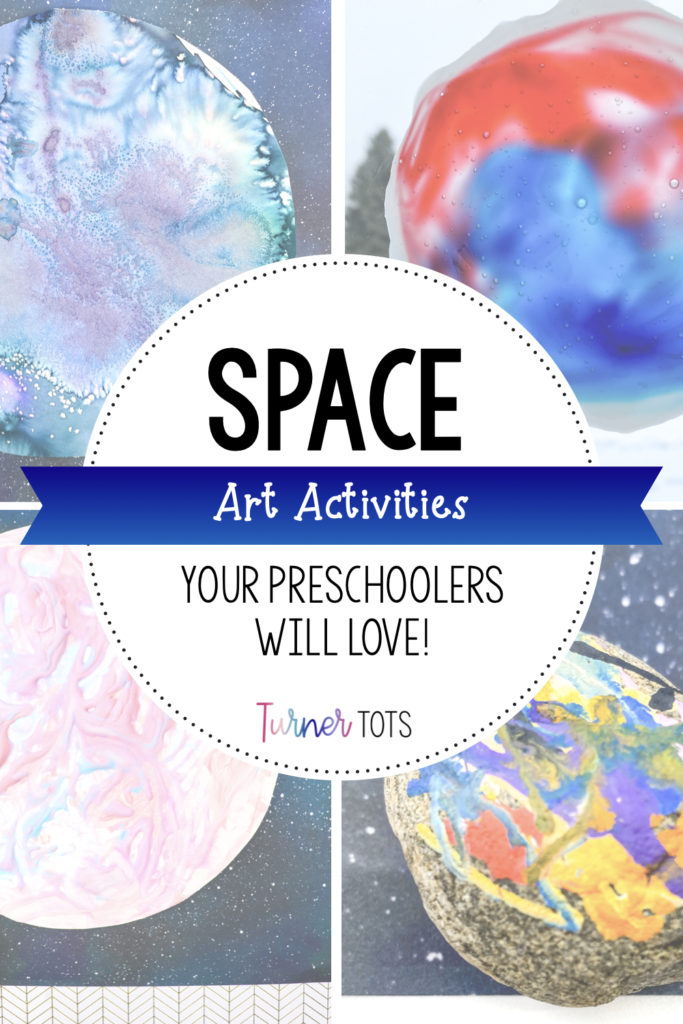
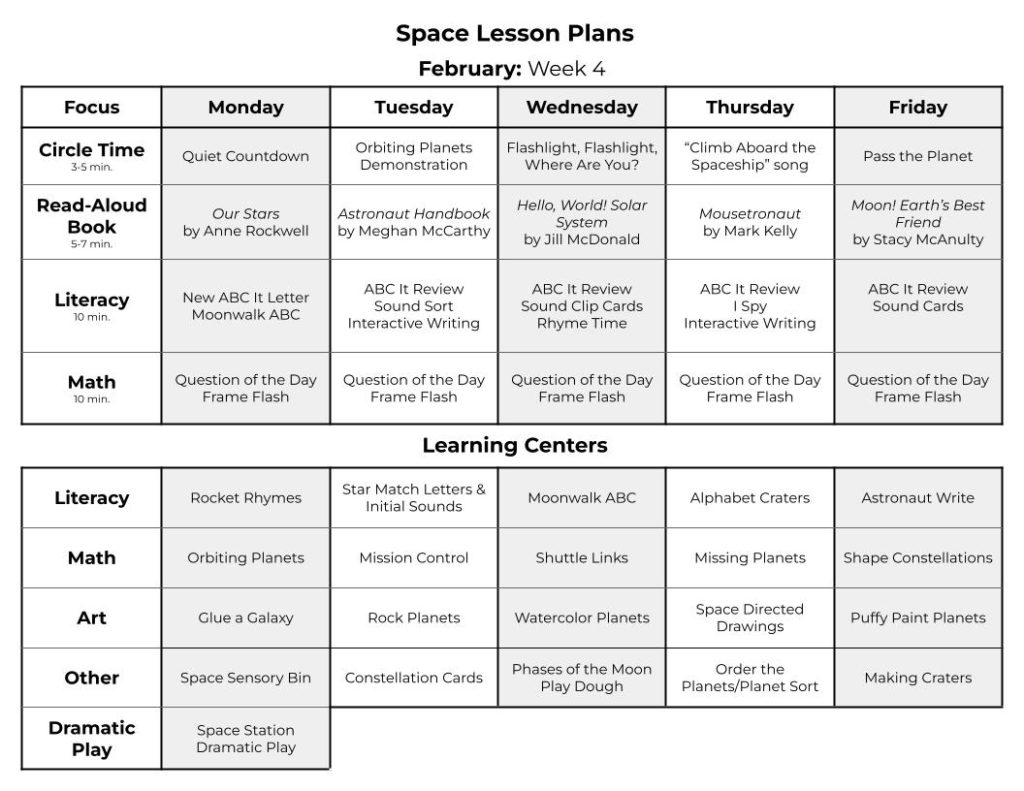
I took art classes all throughout school, including on the weekends. I just loved that creative outlet built into my schedule. And now I realize that as an adult I miss it. I miss the challenge, the exploration, the joy of creating something new. It is something that brings so much peace and happiness to my life. My next mission: figuring out how to take more art classes. In the meantime, I will continue to provide these art experiences for my kids, which I also enjoy. Here’s a look at our week of space art activities.
This post contains Amazon affiliate links, which means I earn a small commission from qualifying purchases at no extra cost to you by linking to Amazon.com. See the full disclosure here.
Space Lesson plans
Glue a Galaxy
Process Art
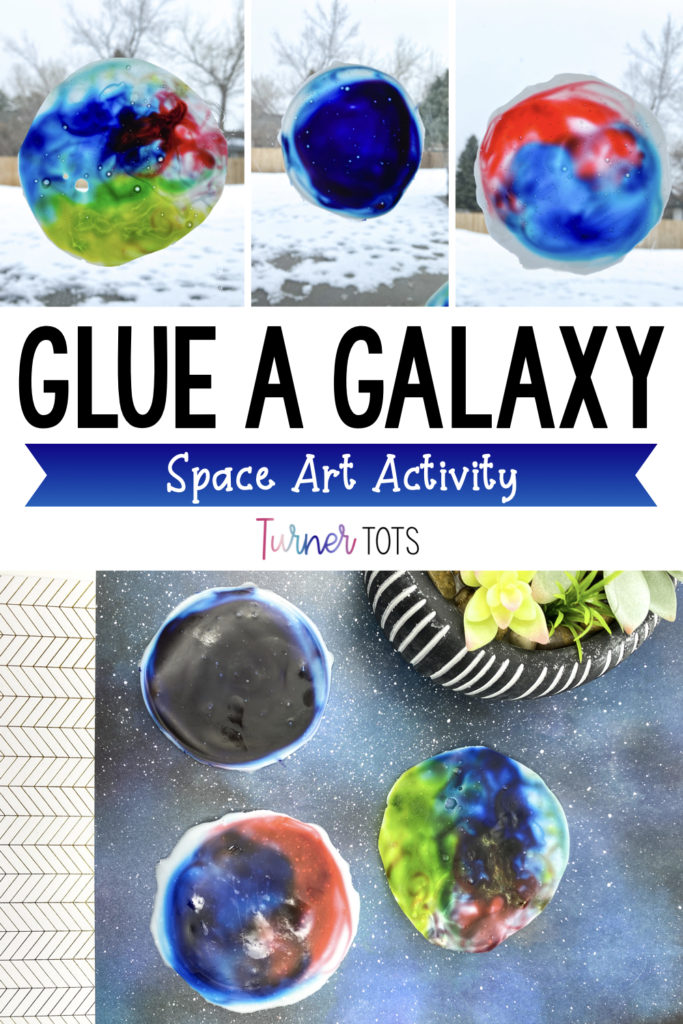
You know it’s gotta be good when your husband asks to do an art project. Especially since his creativity is about as good as I am at gardening. (It’s a known fact that my black thumb has killed a cactus.)
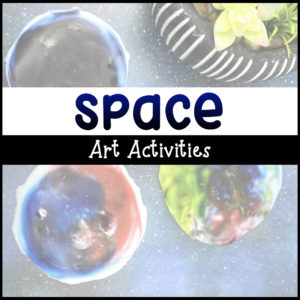
To make a glue galaxy, pour liquid glue into a circular plastic lid. We just used one from a large yogurt container, but coffee can lids or sour cream containers would also work. Then, add 2-3 drops of food coloring. Be sure not to add too much or the swirls will turn into a muddled mess. Finally, use a toothpick to swirl the food coloring around the lid.
As an added bonus, these space art projects clung to our windows for days before they started to dry out. Made for a beautiful suncatcher.
Materials:
- liquid glue
- food coloring
- large round lids (I used yogurt lids)
- toothpicks
Rock Planets
Space Art Activities
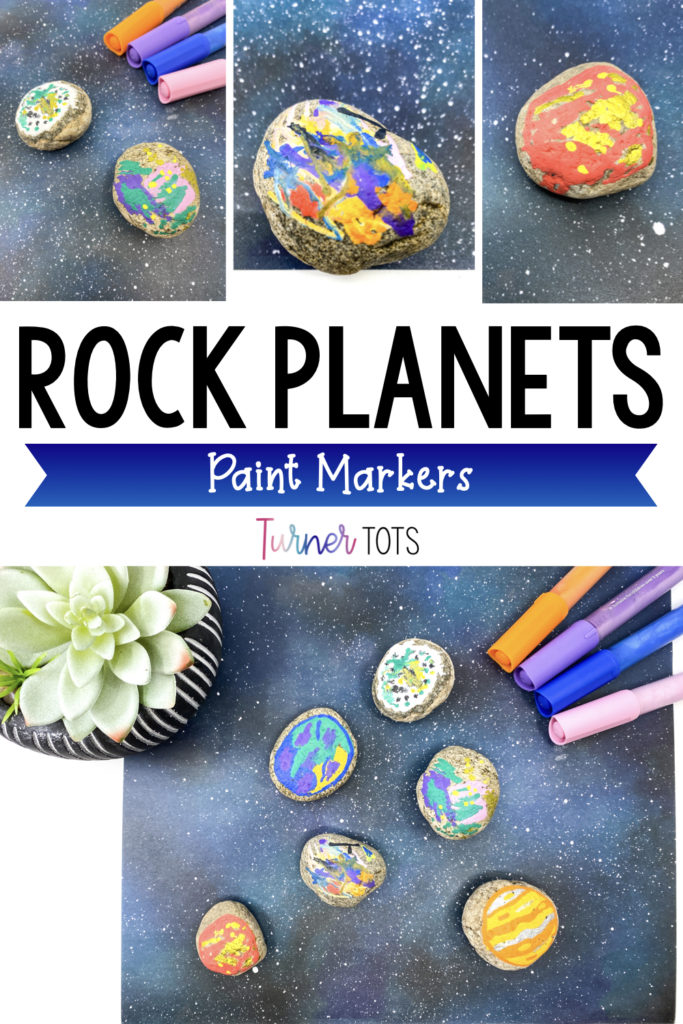
We love exploring new art materials. This week, we tried out paint pens by making planets out of round rocks! So easy to set up and kept them engaged!
Honestly, engagement is pretty simple when it involves rocks. I am constantly throwing them back outside. And at our last camping trip, they collected shiny crystals (quartz) in bottles. So, anything to deal with rocks is a win in our books!
Materials:
- round rocks
- paint pens
Watercolor Planets
Science Incorporated into Art
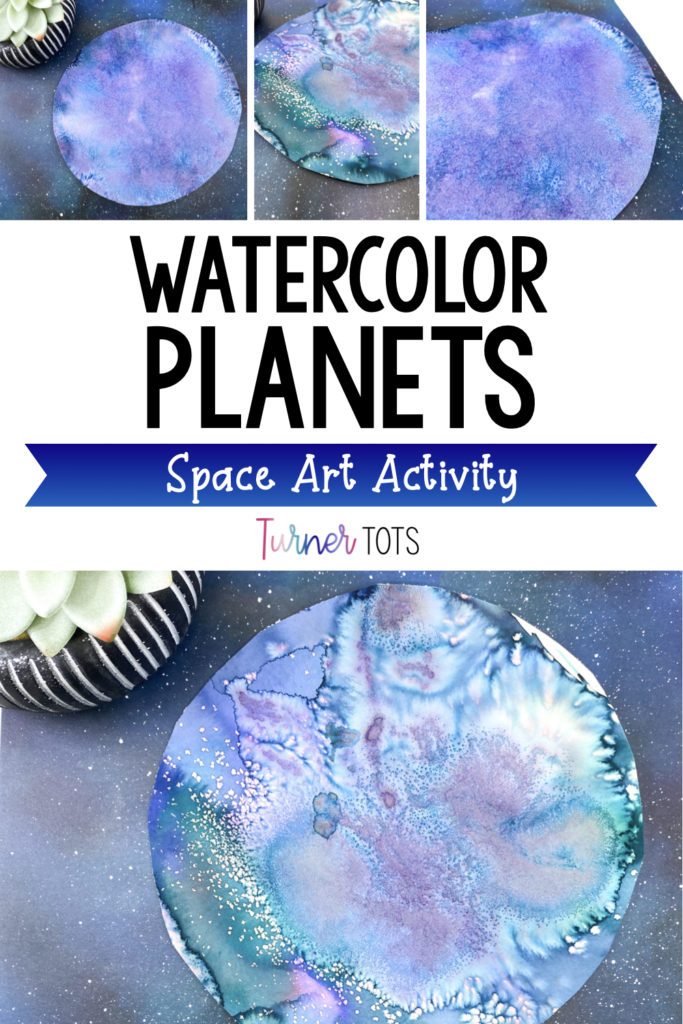
We are still new to the world of liquid watercolors. So when the paint went on so smoothly and so vibrantly, we were in awe.
Start out by drawing a large circle on watercolor paper using a compass. Then, let the kiddos paint away. If you want to add some cool texture and science to this art activity, give the kids the salt shaker. They were thrilled to be able to do this!
After the planets dried, we observed what happened with the salt. Then, I asked them why they thought it turned lighter in those areas.
Last, we cut out the planets along the circles I had drawn earlier to make beautiful swirled planets.
Materials:
- liquid watercolor paints
- watercolor paper
- salt
- compass
- scissors
Space Directed Drawings
With Step-by-Step Instructions
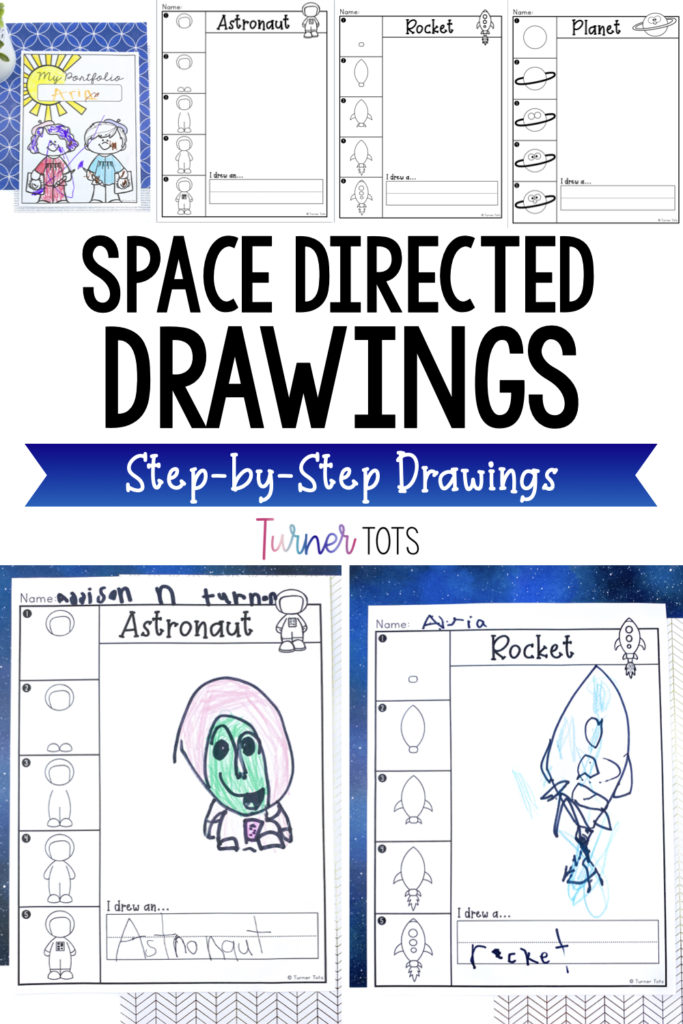
I used to incorporate drawing into my third grade classroom whenever possible. I thought it would be fun for all of those doodlers in class. But what I didn’t realize was that many of my students lacked confidence when it came to their artistic abilities. They had never been taught to look for shapes in objects and take it one step at a time.
When I finally upgraded from an overhead projector to a document camera, I was like Dorothy stepping into the Land of Oz. All we had to do was follow the instructions of the Good Witch (aka me) and we could draw. It was pure Technicolor.
Breaking drawing up into simple shapes and steps is the Yellow Brick Road of art. Once I could model this to my students, they were thrilled at what they could accomplish. I wish I had something like these Directed Drawings to help them explore drawing on their own when I taught, but I least I have it now to help my kiddos learn how to draw in a simple way.
Materials:
- Directed Drawings
- black marker
- crayons or colored pencils
Puffy Paint Planets
Process Art Activity
“That’s impressible.”
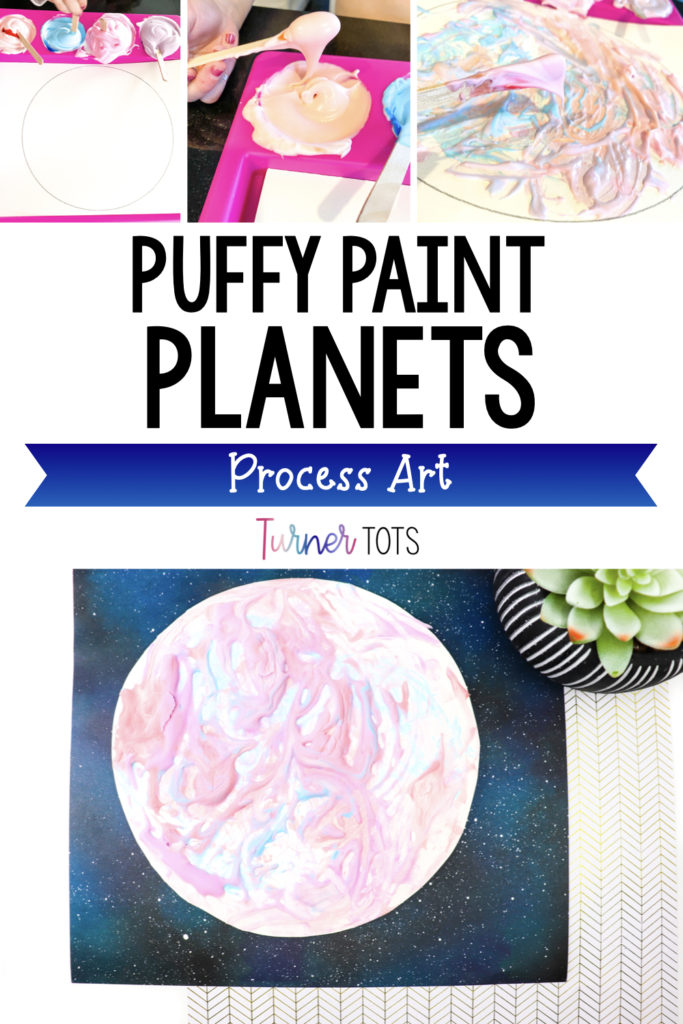
Those were the words my little one said after our puffy paint planets dried. We honestly weren’t sure how they were going to turn out as this was our first time making puffy paint. We didn’t expect them to stay, well, so puffy. They have shaving cream in them, which usually dissipates over time. But it worked! Woot!
To make puffy paint, combine equal parts of liquid glue and shaving cream. Then, add a few drops of food coloring and mix it together with popsicle sticks. In fact, my little ones just used the popsicle sticks to paint.
To make these planets easy to cut out after they dry, just draw a large circle on watercolor paper or card stock first. Have your little ones fill the whole circle with puffy paint, swirling the colors around.
Materials:
- card stock or watercolor paper
- liquid glue
- shaving cream
- food coloring
- popsicle sticks
- compass
You might also like...
MORE Space Activities
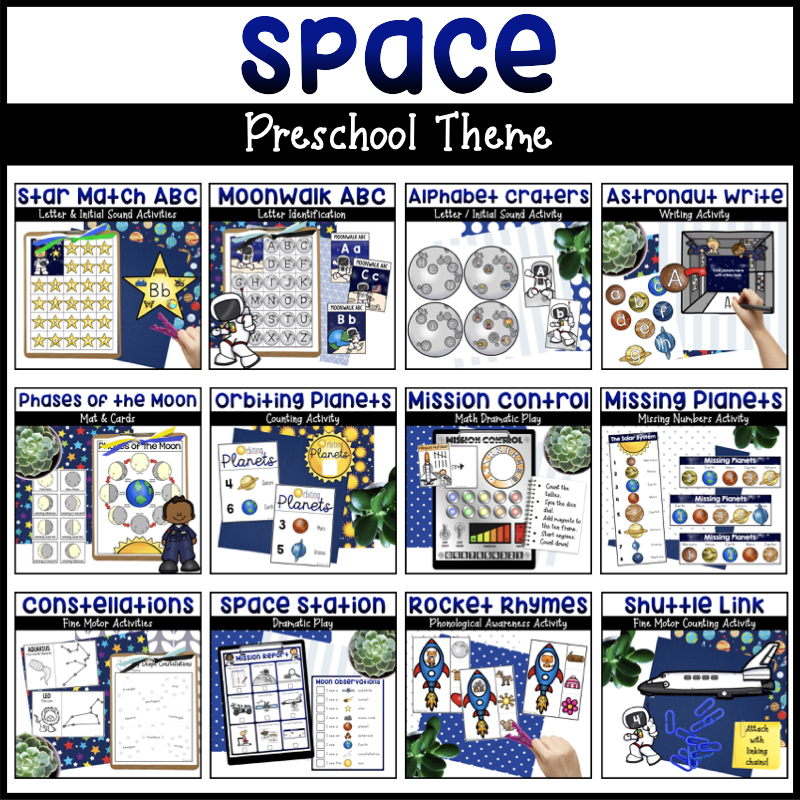
There’s a spark of creativity in all of us. Nurture that with your preschool class by incorporating new art materials and art projects. I know that I certainly have enjoyed doing these space art activities with my children. I hope that you will have some fun with them, too! Check out even more space activities for preschoolers by clicking the buttons above. Did you know if you buy the whole outer space bundle, you save 20%? Click below to check it out and let me know if there’s anything you need to make these activities work for your preschoolers!


